Notifications

10 minutes, 12 seconds
-24 Views 0 Comments 0 Likes 0 Reviews
Setting up a logo for PXF-based embroidery machines may sound hard at first. But do not worry. With the right steps, it becomes simple and clear. You just need to understand how stitch files work and how to prepare your design the right way.Many beginners try to Convert Logo to PXF File Format without knowing what the machine really needs.
This often leads to broken threads, poor stitch flow, or messy results. A PXF file is not just a picture. It is a file full of stitch data. It tells the machine where to move, when to stop, and how to place each stitch.
In this guide, I will walk you through the full process. I will share real tips from hands-on work. I will explain things in easy words. By the end, you will feel more confident when preparing your logo for PXF-based machines.
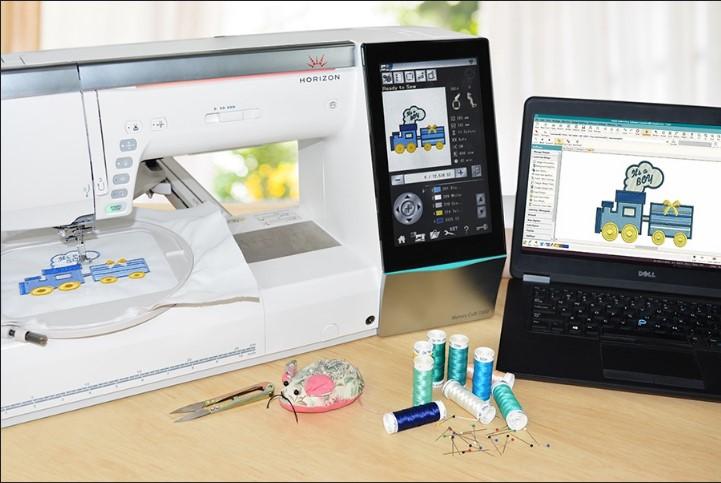
A PXF file is a stitch file used by Brother PR series embroidery machines. It stores full stitch data. This includes:
Stitch type
Stitch path
Color order
Density
Underlay
Trim commands
It is not like a JPG or PNG file. A normal image only shows colors. A PXF file shows the machine how to stitch.
Think of it like a map. The machine follows the map step by step.
A good file gives clean results. A poor file causes stress.
From my real work in embroidery, I have seen:
Gaps in fill areas
Letters that sink into fabric
Thread breaks
Fabric puckering
Most of these issues come from poor digitizing.
When we work at Embroidery Digitizing Services in USA - Digitizing Buddy, we always test stitch files before final delivery. We check how the design runs on real fabric. This helps avoid big problems during bulk production.
Let us break the process into simple steps.
Start with a clean image.
Your logo should:
Be high resolution
Have clear edges
Have simple colors
Not be blurry
Low-quality images cause digitizing errors.
If the logo has too many small details, you may need to simplify it. Small lines do not stitch well.
Size matters a lot in embroidery.
Small logos can lose detail. Large logos may use too much stitch count.
Ask yourself:
Where will the logo be placed?
On chest?
On cap?
On sleeve?
For example, cap logos need special care because the surface is curved.
Different parts of the logo need different stitch types.
Best for text and borders.
Looks smooth and shiny.
Best for large areas.
Covers space evenly.
Best for small details and outlines.
Choosing the wrong stitch type can ruin the design.
Density means how close the stitches are.
Too dense:
Fabric becomes stiff
Thread may break
Too light:
Gaps appear
Fabric shows through
Each fabric type needs different density.
From real test runs, I learned that cotton, polyester, and caps all behave differently. You must adjust settings based on fabric.
Underlay is the base stitch layer. It sits under the top stitches.
It helps:
Stabilize fabric
Improve stitch look
Reduce shifting
Soft fabric like fleece needs strong underlay. Flat fabric like denim needs less.
Skipping underlay is a common beginner mistake.
Fabric plays a big role in logo setup.
Examples:
Denim
Canvas
These fabrics hold stitches well.
Examples:
T-shirts
Sportswear
These fabrics move. You need pull compensation. This means adding small extra width so the design stays balanced after stitching.
Examples:
Towels
Hoodies
These fabrics need strong underlay to stop sinking.
Experience teaches these lessons better than software guides.
I have seen many errors over the years. Let me share some so you can avoid them.
Auto tools are fast. But they are not perfect.
They do not think about:
Fabric stretch
Stitch angle
Real machine speed
Manual editing is always needed.
Stitch direction affects shine and texture.
Changing direction can make a logo look more alive. If all stitches run in one direction, the design may look flat.
Tiny letters are hard to stitch.
If text is too small:
Thread may bunch
Letters may merge
It is better to increase size or use simple fonts.
Never skip testing.
Before stitching 50 shirts, test on one piece.
Check:
Size accuracy
Color order
Thread tension
Fabric puckering
Testing saves time and money.
At Embroidery Digitizing Services in USA - Digitizing Buddy, test runs are part of our normal workflow. We do not rely only on screen preview. Real stitch-out gives real proof.
To create PXF files, you need embroidery software.
Common tools include:
Brother PE-Design
Embrilliance
Wilcom
These programs allow you to:
Trace artwork
Assign stitch types
Set density
Export PXF files
But remember, software is just a tool. Skill comes from practice.
Color order matters in embroidery.
Too many color changes slow down production.
Try to:
Group same colors together
Reduce unnecessary trims
Keep thread changes simple
This improves speed and lowers cost.
Thread breaks are frustrating.
To reduce them:
Avoid very dense areas
Use quality thread
Check needle size
Balance tension
Poor digitizing is often the main cause of breaks.
A smooth stitch path reduces stress on the machine.
If you run a business, quality matters.
Clients trust you when:
Designs run smoothly
Colors match
Files open correctly
Revisions are handled fast
Authority grows with consistent results.
At Embroidery Digitizing Services in USA - Digitizing Buddy, we focus on clear steps and strong quality checks. We keep files saved for repeat orders. This helps clients reorder with ease.
Let me share simple but powerful tips.
Do not place heavy stitch areas on one side only.
Too much overlap causes stiffness.
Stabilizer supports fabric from the back.
Without it, even a good file may fail.
Simple designs stitch better.
Too many small details create problems.
Early in my work, I once digitized a logo for a sports shirt. It looked perfect on screen.
But when stitched, the logo shrank and looked tight.
Why?
The fabric was stretch material. I forgot to adjust pull compensation.
After fixing the settings and testing again, the logo came out clean.
That day taught me a big lesson. Screen view is not enough. Real fabric tells the truth.
Setting up a logo for PXF-based machines is not hard when you follow the right steps.
Remember:
Start with a clean image
Choose correct stitch types
Adjust density
Add underlay
Test before bulk production
Good logo setup saves time, thread, and money. It also protects your brand image.
Embroidery is both art and skill. With practice and care, you can create clean and strong stitch files that run smoothly on your machine.
Take your time. Test your work. Keep learning from each project. Over time, your results will improve, and your confidence will grow.

