Notifications

8 minutes, 14 seconds
-451 Views 0 Comments 0 Likes 0 Reviews
Today we're diving deep into one of the most efficient and downright fun builds for Skull and Bones. If you're looking for a reliable ship to dominate ship-to-ship combat, wreck level 20 NPC ships Skull and Bones Items, and turbocharge your Helm progression-this Crew Attack-focused Sambuk build might just be your next favorite setup.
Let's break down everything from the ship loadout, crew synergies, weapon perks, and Helm farming strategy that will keep your Pieces of Eight flowing strong well into Season 2 and beyond.
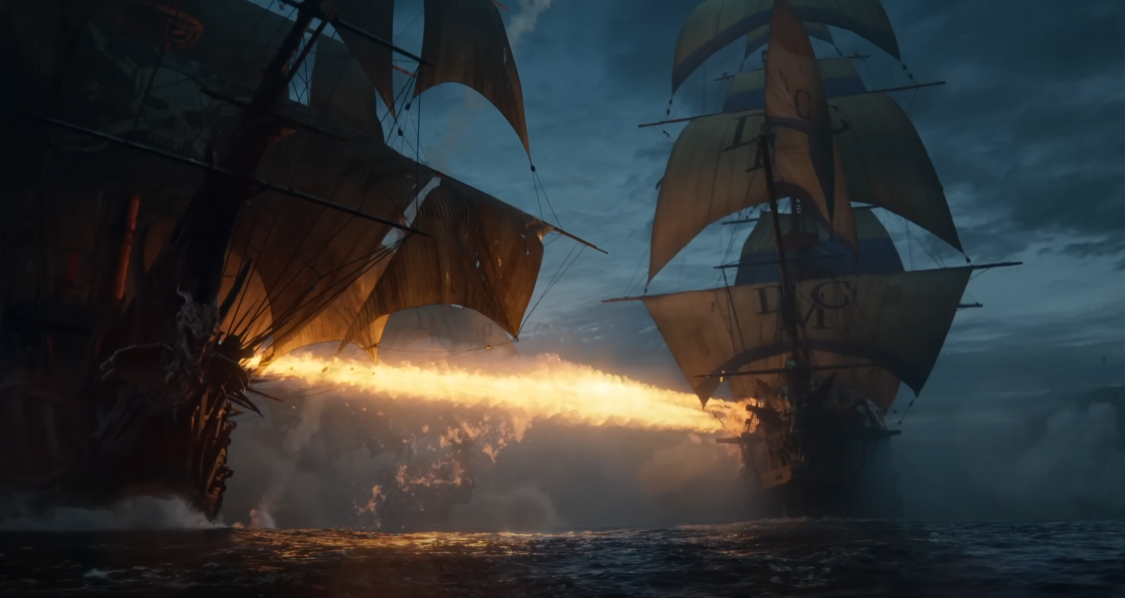
Why the Sambuk?
The Sambuk might not be the beefiest ship in your fleet, but it shines in maneuverability, offensive crew synergy, and versatility-especially when optimized for sustained crew attacks and applying debuffs.
While not suited for Mega Forts or heavy wall breaching, the Sambuk thrives in open-water skirmishes, mini-boss encounters, and territory defense. It's the perfect support ship for team-based events, and it can easily solo smaller threats with high uptime on its abilities.
Core Loadout: Weaponry That Stacks Burning and Control
Front Weapon: Zam Zama 3E
Perks: Raider, Burning II, Firepower, Long Arm, Roar
Synergy: The Raider perk increases vulnerable status buildup, while Burning II ensures frequent Blaze triggers. Roar is the real MVP-taunting enemies reduces their damage output by 50%, making this front cannon both offensive and defensive.
Broadsides (x2): Zam Zama 3E
Perks on both: Raider, Burning II, Firepower, Amplified Burning, Long Arm
Damage Focus: These deliver massive DPS, with Amplified Burning boosting Blaze uptime and Long Arm granting up to 44.4% more damage at long range (critical for Sambuk's 250m max).
Rear: Fire Bombard III
Perks: Explosive II, Burning I, Amplified Burning, Second Storm
Tactic: This rear cannon isn't just for show-it deals solid AoE and triggers Shock for crowd control. Against healing ships, it can stop regen in its tracks with persistent damage-over-time.
Center: Warhammer
Perks: Shock Severity, Precision Patchwork
Utility: If you're skipping the healing armor, this weapon acts as a status cleanser, removing severe damage with each salvo. Especially useful in Tier 2 waters.
Crew Attack Monster: Armor, Furniture, and Synergies
Armor: Crimson Lotus
Effect: Every successful crew attack boosts your broadside damage by 33% and gives you 100% stamina regeneration for 15 seconds.
Outcome: With how often this build triggers crew attacks (nearly every other shot if you're hitting weak points), you'll keep your damage buff and stamina rolling constantly.
Furniture Breakdown:
Scrapper Station: Restores 8,000 hull health after every crew attack. Nearly free healing, as long as you're attacking weak spots consistently.
Spike Warhorn: Increases crew attack charge rate by 10%, helping trigger those heals even faster.
Ramrod Workshop: Reduces broadside reload time by 7%, and increases secondary broadside damage by 8%.
Gunpowdered Bench: Adds 10% more damage to enemies under Blaze effect. With Burning II and Amplified Burning stacked on all major weapons, Blaze is always active.
Strange Elixir: Boosts crew ability range by 25% and improves crew stamina management (critical in long fights).
Lari Trophy: Grants +7% crew attack damage and increases ship acceleration and carry weight. Great for map efficiency and PvP escape maneuvers.
Helm Strategy: Farming Pieces of Eight Like a Pro
Beyond combat, this Sambuk build is ideal for progressing your Helm by farming auto-collection territories and boosting your economic infrastructure.
Key Tips for Helm Progression:
Focus first on auto-collect zones for convenience. Even if you're not shipping constantly, you'll be raking in resources passively.
Upgrade to level 5s in key regions like Lower East Africa and South of Saint-An, where connection bonuses (up to 11% per link) stack heavily.
Prioritize Dependable Laborers for boosting Pieces of Eight income before worrying about exotic material production or rampa dominance.
Why the Sambuk Helps:
Can clear routes of level 20 enemies with ease (usually in 3-4 shots).
If a ship is slowed by armor, your DPS still holds up due to crew attack boosts and consistent Blaze application.
Allows you to defend key Helm routes solo while bigger PvE crews handle Mega Forts or boss raids.Efficiency Tips and Best Practices
1.Hit Weak Points Consistently. Crew attacks and scrapper healing only trigger when weak points are struck. Missing them drops your healing and DPS drastically.
2.Don't Overbuild Ships. Avoid maxing all 40 slots with trade or collector vessels. Keep at least 7-10 slots open for PvP and high-capacity builds.
3.Assign Efficient Ships. A level 10-11 collector can pick up from level 5 territories, but far-off zones may need level 13-15 ships to optimize haul and speed.
4.Stagger Collection Times. With a 16-minute cooldown, plan ship assignments wisely and avoid idle time by rotating auto-collect and manual pickups.
Recommended Upgrades and Items
Fully Ascended Zam Zama 3Es - A must-have for maximizing DPS across all fronts.
Warhammer - Not just a heavy-hitter but a utility cleanser for severe damage.
Crimson Lotus Armor - Essential for maximizing both offense and survivability.
Crew-focused Furniture - Spike Warhorn and Scrapper Station form your healing engine.
Precision Patchwork - Get rid of severe damage without relying on armor perks.
Long-Term Planning: What to Focus on Next
As we move toward Season 2 and 3, the key is setting up your infrastructure now:
Get all Helm areas to level 5 and complete major connections to boost income.
Maximize crew synergy ships like this Sambuk for versatile deployment (PvE, Helm defense, support in Mega Forts).
Avoid overcommitting ships to collection-leave room for combat and trade versatility.
Eventually, you'll be building materials with your Pieces of Eight, meaning you won't need to travel across the map just to farm buy Skull and Bones Items. That's the endgame vision-sustainable wealth generation from home turf.
mmoexp Buy Skull and Bones Items cheap Skull and Bones Items

