Notifications

Grout plays a crucial role in any tile installation project. Whether you are working on a bathroom floor, kitchen backsplash, or a shower wall, properly mixed grout helps hold tiles in place, prevents moisture penetration, and creates a clean finished appearance. Many DIY enthusiasts focus heavily on choosing the right tiles but overlook the importance of mixing grout correctly.
Learning how to mix grout properly can make a huge difference in the durability and appearance of your tile project. Poorly mixed grout may crack, shrink, or discolor over time. The good news is that mixing grout is not complicated once you understand the right technique and consistency.
In this DIY guide, you will learn how to mix grout like a professional so your tile installation looks neat, strong, and long-lasting.
Understanding What Grout Does
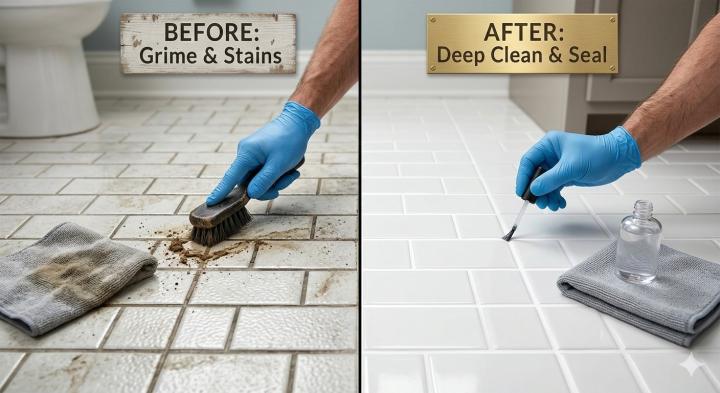
Before learning how to mix it, it is helpful to understand why grout matters. Grout fills the gaps between tiles and prevents dirt, moisture, and debris from getting underneath them. It also strengthens the tile structure and improves the overall appearance of the tiled surface.
If you are new to tile work and want to understand the basics of grouting, it simply refers to the process of filling tile joints with a special cement-based mixture that hardens and locks the tiles in place.
Grout comes in different forms such as sanded grout, unsanded grout, epoxy grout, and ready-to-use grout. For most DIY tile installations, powdered cement grout is the most common and affordable option.
Tools and Materials You Will Need
Mixing grout does not require many tools, but using the right equipment makes the job easier and ensures consistent results.
You will typically need:
Powdered grout mix
Clean mixing bucket
Measuring cup or container
Mixing trowel or margin trowel
Rubber gloves
Sponge and clean water
Some professionals also use a drill with a mixing paddle, but for small DIY jobs, hand mixing works perfectly fine.
Choosing the Right Type of Grout
Selecting the right grout is just as important as mixing it properly. Different tile projects require different grout types.
Sanded grout is commonly used for wider grout joints, typically larger than 1/8 inch. It contains sand particles that add strength and prevent cracking.
Unsanded grout is better for narrow tile joints and delicate tiles such as glass or polished stone because it has a smoother texture.
Epoxy grout is a more advanced option. It is highly resistant to moisture and stains but is more expensive and slightly harder to work with for beginners.
Choosing the correct grout type ensures your tile installation remains strong and visually appealing for many years.
Step-by-Step Guide to Mixing Grout
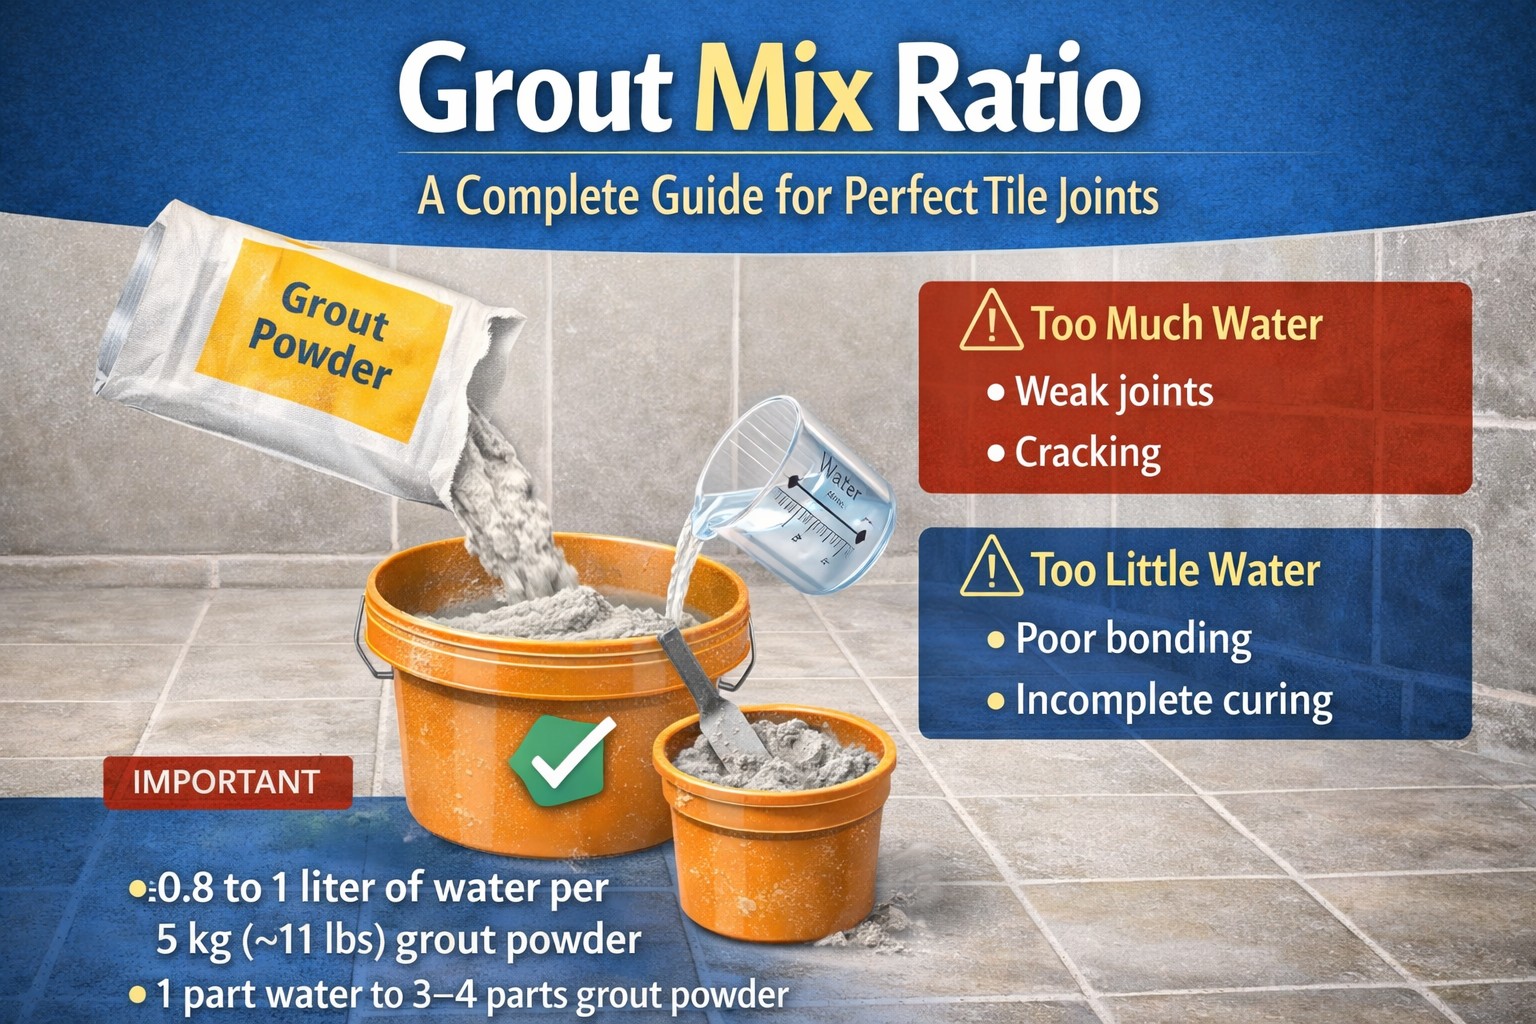
Mixing grout correctly involves following a simple but precise process. The most important factor is achieving the proper consistency.
Start by pouring the recommended amount of clean water into a bucket. Always check the manufacturer’s instructions because each grout product may require slightly different water ratios.
Next, slowly add the grout powder into the water while stirring continuously. Adding powder gradually prevents clumps and helps create a smooth mixture.
Use a margin trowel or mixing tool to combine the ingredients thoroughly. Continue mixing until the grout reaches a thick paste consistency similar to peanut butter. The mixture should not be too watery or too dry.
After mixing, allow the grout to sit for about 5 to 10 minutes. This resting period is called slaking. It allows the ingredients to activate and improves the strength of the grout.
Once the waiting period is complete, mix the grout again briefly without adding extra water. Now your grout is ready for application.
Common Mistakes to Avoid When Mixing Grout
Even though mixing grout is simple, beginners often make a few common mistakes that can affect the final result.
One common error is adding too much water. Excess water weakens the grout and can cause cracking or discoloration after it dries.
Another mistake is skipping the slaking time. Allowing grout to rest before use improves its bonding ability and overall durability.
Mixing too much grout at once is also a problem. Grout begins to harden within 30 to 40 minutes, so it is best to mix smaller batches that you can use quickly.
Finally, always use clean tools and clean water when mixing grout. Dirt or leftover materials in the bucket can affect the mixture and cause uneven curing.
Applying the Mixed Grout
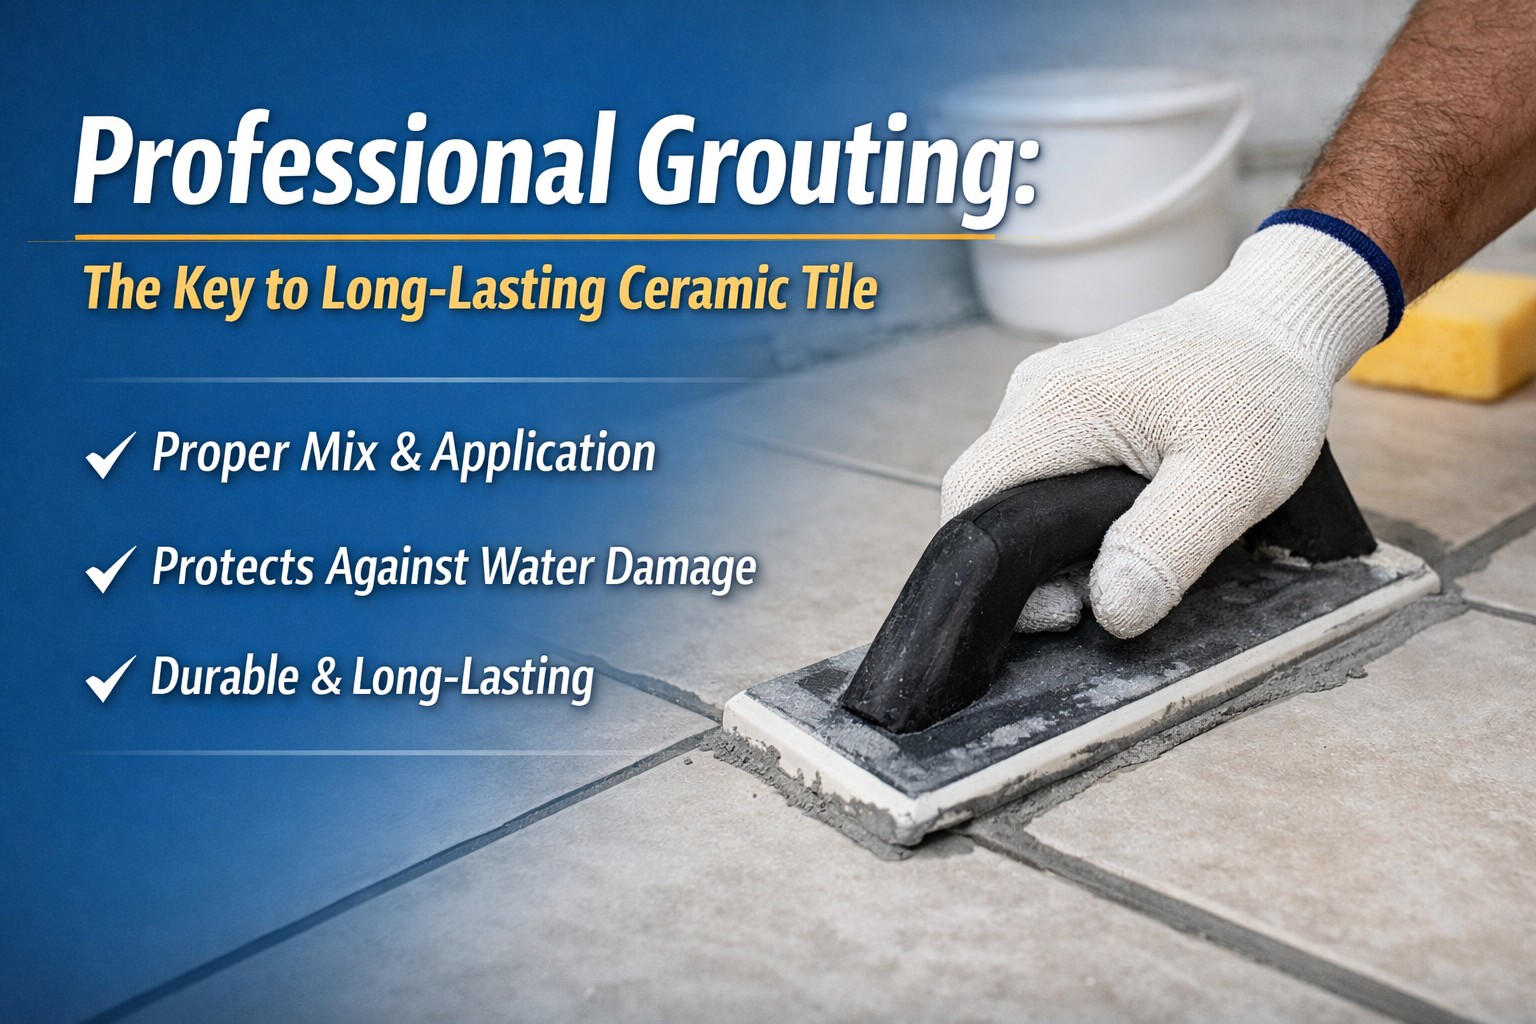
Once your grout is properly mixed, it is time to apply it between the tiles. A rubber grout float is the most commonly used tool for spreading grout.
Hold the float at a slight angle and press the grout firmly into the tile joints. Work in small sections and ensure that all gaps are completely filled.
After filling the joints, remove excess grout from the tile surface using the float. Once the grout begins to set slightly, wipe the tiles gently with a damp sponge to clean off residue.
Be careful not to remove too much grout from the joints during cleaning.
Cleaning and Maintaining Grout
After the grout has cured, regular cleaning helps maintain its appearance and prevent staining. Bathrooms and kitchens especially require routine grout maintenance because of moisture and dirt buildup.
Many homeowners search online for zep grout cleaner reviews before choosing a cleaning product. These reviews often highlight how effective the cleaner is at removing stains and restoring grout color.
Using the right cleaning product helps keep grout lines bright and prevents mold or mildew growth in damp environments.
Proper maintenance also extends the lifespan of grout and keeps tiled surfaces looking new.
Understanding the Difference Between Caulk and Grout
When working on tile projects, many beginners get confused between grout and caulk. While they may appear similar, they serve different purposes.
Grout is used to fill the joints between tiles and provide structural support. Caulk, on the other hand, is flexible and used in areas where movement occurs, such as corners, edges, and joints between different surfaces.
If you want a deeper explanation of their differences, this guide on caulk vs grout explains when to use each material during tile installation.
Using the correct material in the right place helps prevent cracking and improves the longevity of the tiled surface.
Final Thoughts
Mixing grout may seem like a small step in a tile project, but it has a major impact on the final result. Properly mixed grout ensures strong tile bonding, clean grout lines, and long-lasting durability.
By following the correct mixing ratio, allowing proper slaking time, and avoiding common mistakes, you can easily mix grout like a professional. With the right preparation and technique, even beginners can achieve excellent results in their DIY tile projects.
Once your grout is installed and cured, maintaining it with the right cleaning products and proper care will keep your tiled surfaces looking fresh and attractive for years to come.