Notifications

5 minutes, 7 seconds
-51 Views 0 Comments 0 Likes 0 Reviews
Starting your journey in Warborne Above Ashes Solarbite can feel overwhelming, especially when facing the tactical complexity of the campaign’s early missions. These first 10 missions are designed to test your understanding of unit placement, resource management, and your ability to adapt under pressure. If you’re looking for reliable, experience-backed strategies to survive and thrive, this guide has you covered.
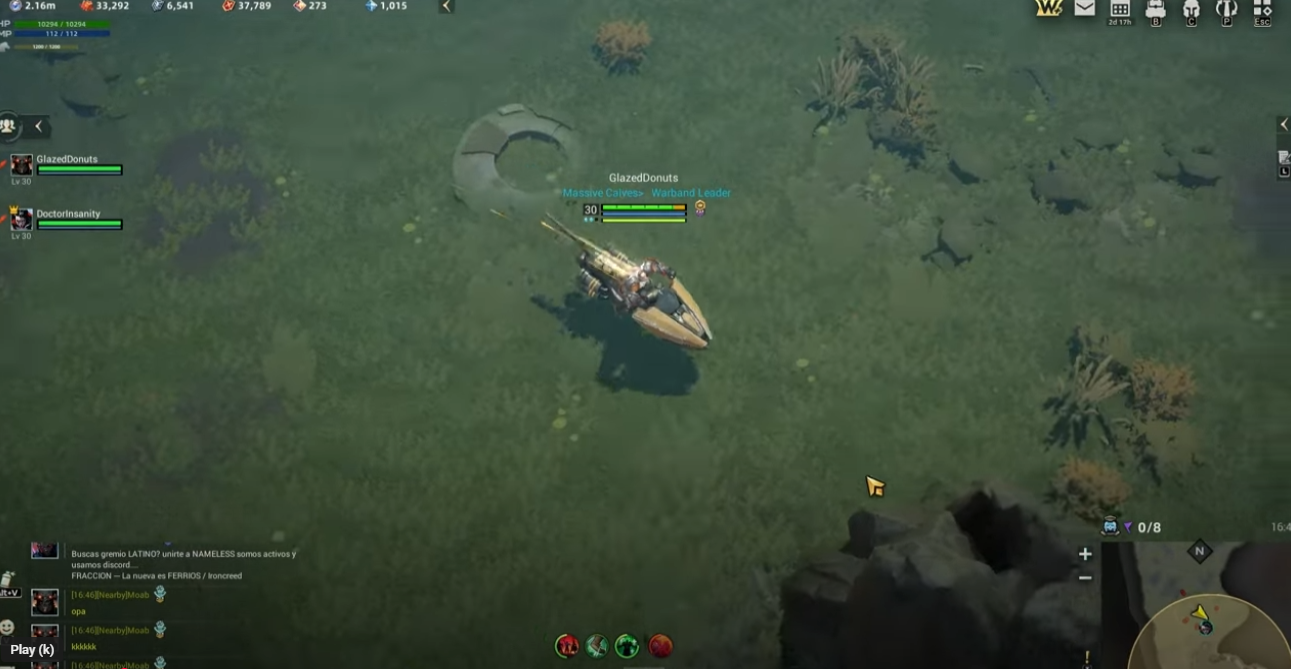
In Warborne Above Ashes Solarbite, every battle takes place on a grid-based tactical map. One of the most common early-game mistakes is rushing units without understanding elevation, terrain bonuses, or movement penalties. Focus on placing your units in cover or on high ground whenever possible to maximize defense and visibility.
While experimenting is important, it’s critical to settle on a balanced early-game squad. A solid setup should include:
One tanky frontline unit
One ranged unit with terrain mobility
One support unit (healer or buffer)
One high-damage flanker
This setup will help you respond to different enemy types and objectives during the first few Warborne Above Ashes Solarbite campaign missions.
Solarbite is more than just a narrative element—it plays a strategic role in combat. Missions often contain Solarbite nodes that can power units or unlock powerful zone effects. Capture and control these early in battle. If left uncontested, the enemy can turn them into significant advantages.
Many early missions encourage exploration and secondary goals. Players who rush the main objective often trigger reinforcements or ambushes without preparation. Take your time clearing fog of war, positioning troops, and controlling the battlefield before pushing forward.
Setting up defensive lines with overwatch capabilities can dramatically shift momentum in your favor. Several units in Warborne Above Ashes Solarbite come with reaction-based abilities that trigger on enemy movement. Use these to control chokepoints and discourage aggressive AI pushes.
By the third or fourth mission, you’ll start encountering specialized enemy types like Solarbite-enhanced drones or flame-immune beasts. Make note of their movement and targeting patterns. Some enemies prioritize squishy units, while others rush your flanks. Adapt your positioning accordingly.
Warborne Above Ashes Solarbite allows you to upgrade units and equipment using limited materials. Early on, invest in your frontline and support units first. Survivability is more important than burst damage in the early stages, where most losses come from poorly protected positions.
Some missions introduce mechanics that simulate attrition—cut-off supply routes, reinforcements, or fog-based penalties. Always have a unit or two guarding supply points or fallback zones. Losing access to reinforcements mid-mission can quickly turn a winning battle into a rout.
Don't let the AI dictate the terms of battle. Use narrow terrain, cliffs, and energy walls to corral enemies into kill zones. This is especially effective when facing enemies with higher numbers or better initiative stats.
Warborne Above Ashes Solarbite allows manual saves during campaign missions. Before taking a risk—like rushing a node or deploying a unique ability—save your progress. This lets you experiment, learn from missteps, and refine your tactical instincts without repeating the entire mission.
Surviving the first 10 missions in Warborne Above Ashes Solarbite requires patience, planning, and a willingness to learn from your losses. As you become more familiar with unit abilities, Solarbite interactions, and battlefield dynamics, you’ll find your confidence growing. These missions form the foundation for everything to come—master them, and you’ll be well-equipped for the challenges that lie ahead.

