Notifications

5 minutes, 1 second
-108 Views 0 Comments 0 Likes 0 Reviews
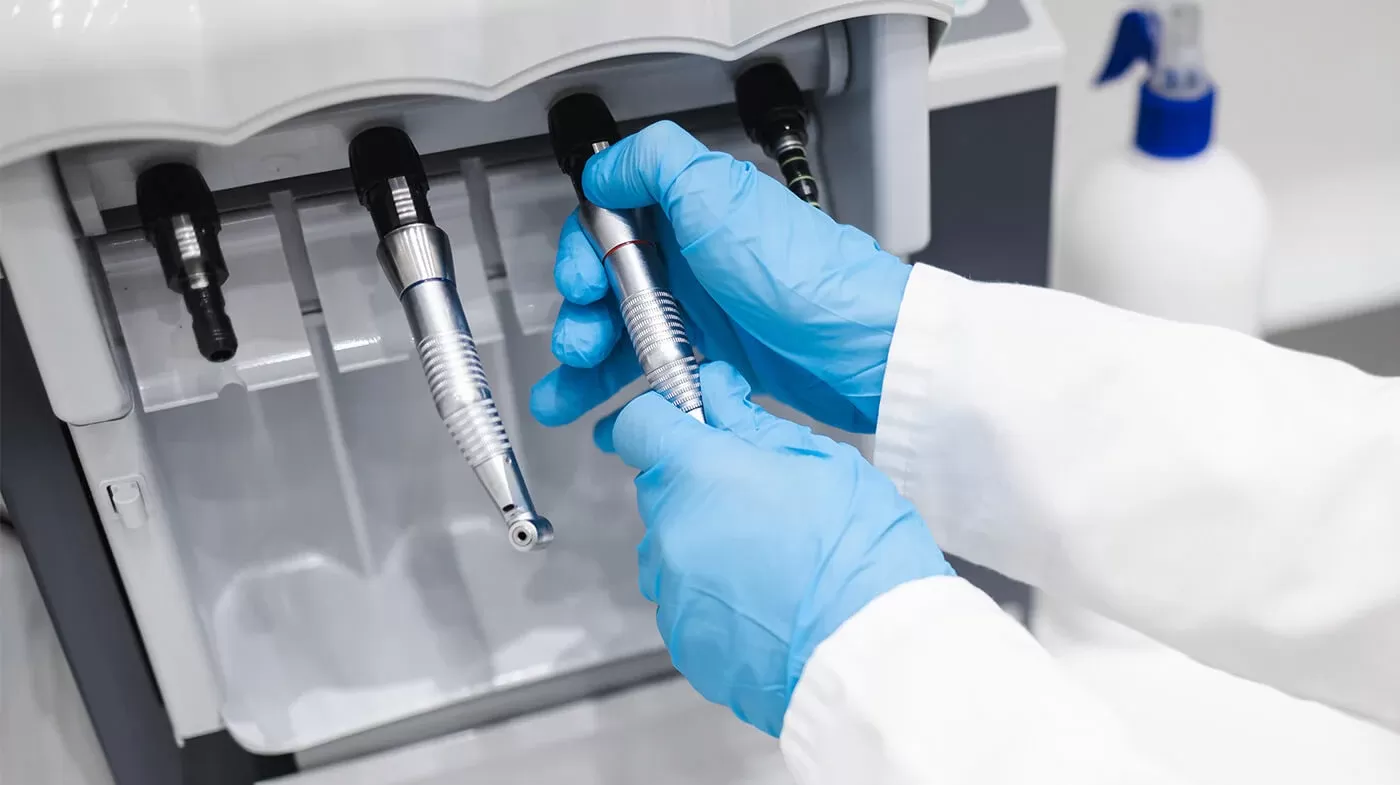
handpieces maintenance are among the most essential tools in any dental practice. Whether it’s a high-speed or low-speed handpiece, proper maintenance is crucial for optimal performance, patient safety, and extending the lifespan of the equipment. Neglecting handpiece maintenance not only leads to costly repairs but also affects the efficiency of dental procedures.
In this guide, we’ll cover everything you need to know about handpiece maintenance — from cleaning and lubrication to sterilization protocols and storage tips. Follow these best practices to ensure your handpieces stay in top condition for years.
Regular handpiece maintenance is vital for several reasons:
Proper care reduces wear and tear, allowing the equipment to last longer.
A well-maintained handpiece functions smoothly, providing precision during procedures.
Routine maintenance helps detect minor issues early, avoiding expensive repairs or replacements.
Clean and sterilized handpieces reduce the risk of cross-contamination and infections.
Before sterilizing, it’s important to remove visible debris.
Remove the bur from the handpiece.
Wipe the exterior with a damp cloth to remove contaminants.
Avoid submerging the handpiece in disinfectants unless specified by the manufacturer.
Lubrication is essential to prevent friction and internal damage.
Always use manufacturer-recommended lubricants.
Apply oil into the drive air tube or chuck system (depending on the handpiece model).
Rotate the handpiece to distribute the lubricant evenly.
Run the handpiece for 20-30 seconds to expel excess oil.
Handpiece chucks collect debris over time, affecting bur retention.
Use a chuck cleaning brush or spray cleaner regularly.
Remove debris from the chuck cavity to ensure proper bur grip.
Sterilization is a non-negotiable step in handpiece maintenance.
Autoclave the handpiece as per manufacturer instructions.
Ensure handpieces are dry before autoclaving to prevent rust.
Use proper sterilization pouches to maintain sterility after the cycle.
Allow the handpiece to cool naturally after sterilization.
Pro Tip: Never exceed the recommended autoclave temperature — most handpieces should not exceed 135°C.
Storing handpieces correctly prevents unnecessary damage.
Store handpieces in a clean, dry, and dust-free environment.
Avoid placing handpieces near chemical disinfectants or damp areas.
Use protective cases or designated drawers to prevent accidental drops.
To keep your handpieces in peak condition, avoid these common mistakes:
| Mistake | Why It's Harmful |
|---|---|
| Using Wrong Lubricants | Can damage internal components. |
| Skipping Lubrication Before Sterilization | Increases risk of rust and seizing. |
| Not Cleaning the Chuck Regularly | Affects bur retention and safety. |
| Using Harsh Chemicals | Damages the handpiece surface and internal parts. |
| Improper Storage | Increases risk of contamination or physical damage. |
| Maintenance Task | Recommended Frequency |
|---|---|
| Exterior Cleaning | After every patient use |
| Lubrication | Before and after sterilization |
| Chuck Cleaning | Weekly or as needed |
| Sterilization | After every patient use |
| Full Service Check | Every 6-12 months (by a technician) |
While daily maintenance is essential, having your handpieces professionally serviced offers additional benefits:
Complete internal cleaning
Replacement of worn-out components
Performance testing
Extended manufacturer warranty (if applicable)
Investing in professional servicing can save you money in the long run and ensure uninterrupted practice operations.
Handpiece maintenance is a vital aspect of running a successful dental practice. By following the correct procedures — from cleaning and lubrication to sterilization and storage — you can maximize the lifespan and performance of your handpieces.

